
ARDUINO UNO · 16 BROWSER EXPERIMENTS
Learn Arduino.
Try a circuit.
Start with an LED, then try buttons, sensors and motors. Inspect the Uno in 3D, adjust the lesson controls and follow the signal as the circuit runs.
Free to explore. No hardware needed.
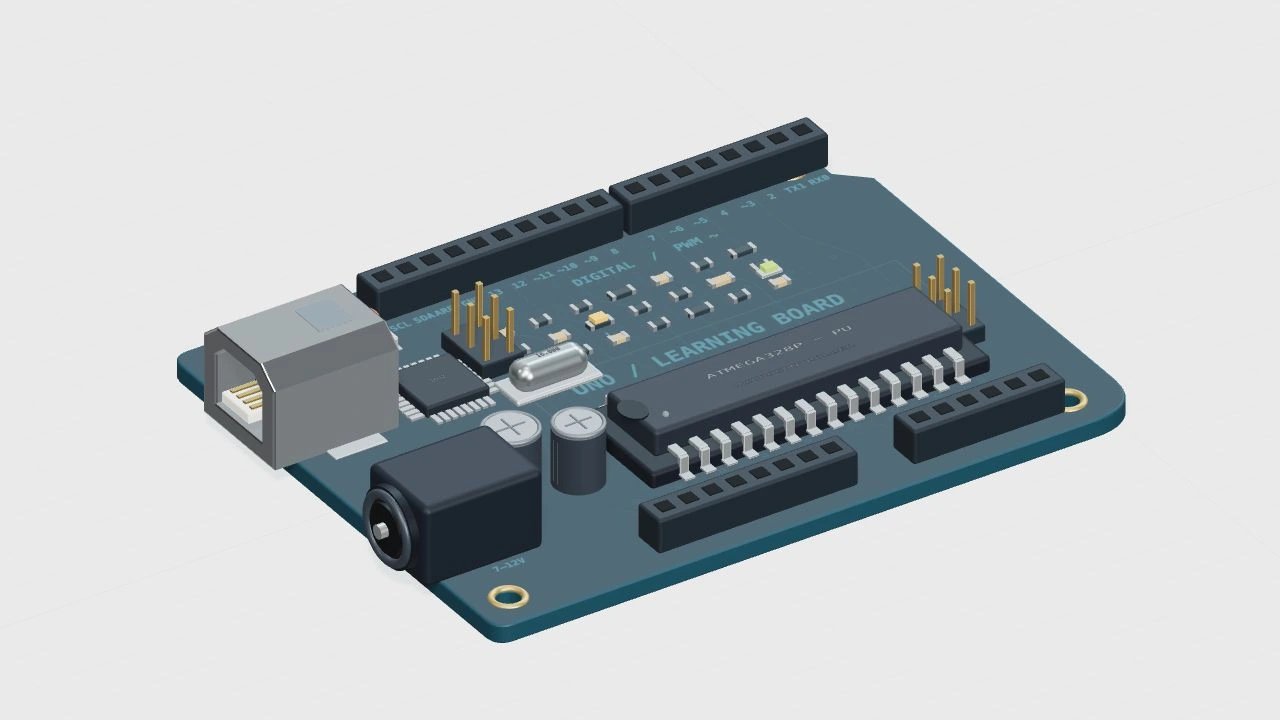
BeginnerBuilt for your first steps
16Experiments to explore
Instant feedbackSee your changes happen
No installationYour browser is the workbench
YOUR LEARNING PATH
16 Arduino lessons, in order.
Begin with the board and an LED. Later lessons add sensor readings, motor control and a parking indicator.
Start here
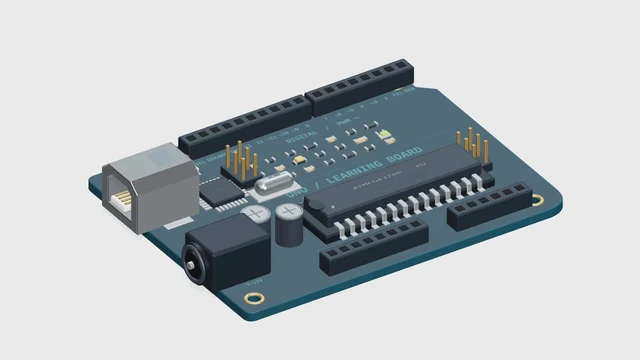
Uno Board: Pins, Power & GND
Find USB, power pins, GND and D13 on the Uno model. Learn which connections carry power and which carry a signal before opening your first circuit.
Open lesson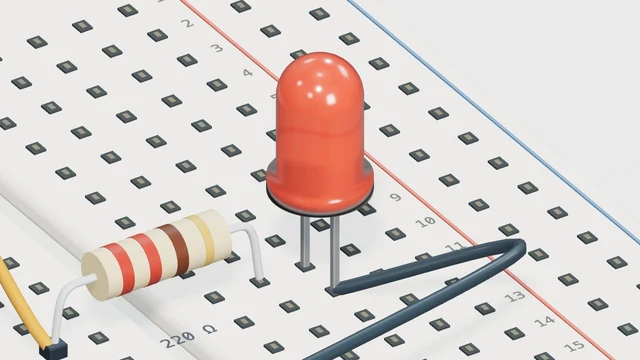
Start here
LED Blink: HIGH, LOW & Delay
Run an Arduino LED blink experiment. Compare 500 ms and 1000 ms delays, follow D13, and calculate the full on-off cycle.
Open lesson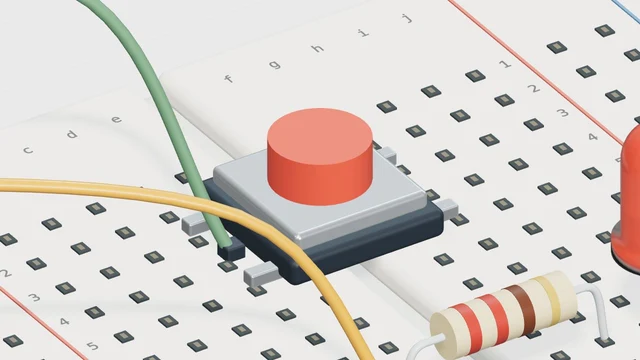
Start here
Button Input with digitalRead
Press a virtual button to control an LED. Follow the D2 input, see why the circuit uses a pull-down resistor, and read HIGH and LOW.
Open lesson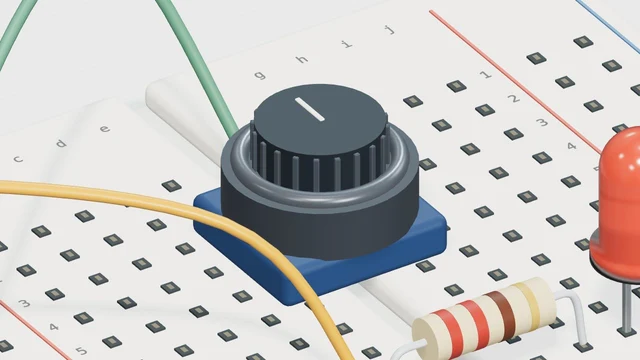
Start here
Potentiometer: analogRead to PWM
Turn a potentiometer to dim an LED. Compare the A0 reading from 0 to 1023 with the D9 PWM output from 0 to 255.
Open lesson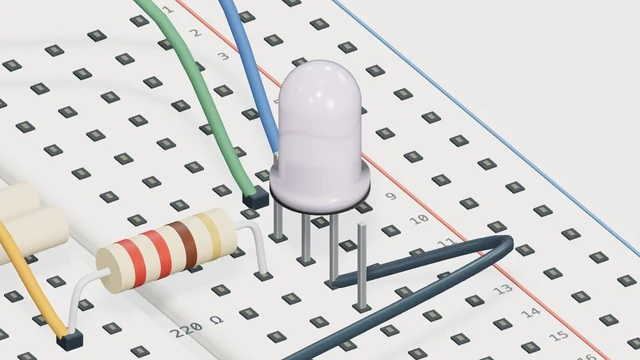
Read the world
RGB LED: Mix Red, Green & Blue
Adjust three PWM channels to mix RGB light. Make red, yellow and white, and see how each channel changes the LED color.
Open lesson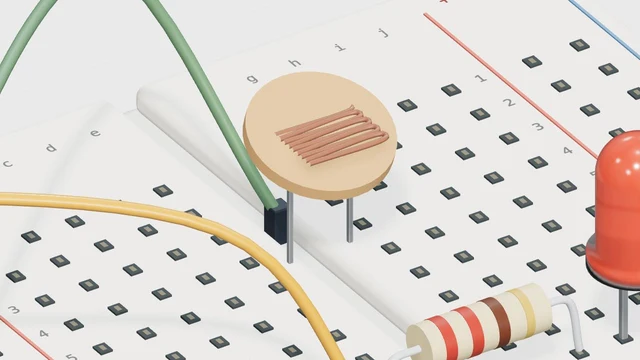
Read the world
Light Sensor: Build a Night Light
Compare a light sensor reading with a threshold to switch an LED. Test the boundary and see why sensor direction depends on the circuit.
Open lesson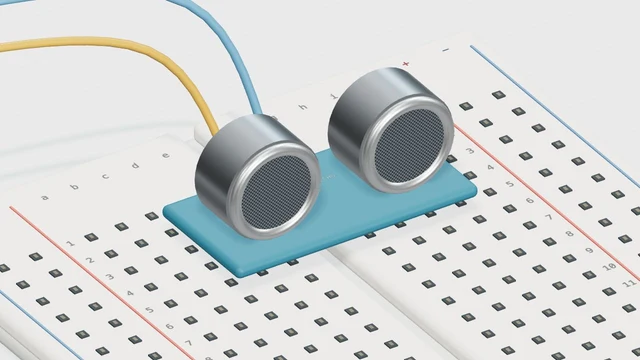
Read the world
HC-SR04: Echo Time to Distance
Move an obstacle in an HC-SR04 lesson. Follow trigger and echo signals, convert echo time to centimeters, and compare distance readings.
Open lesson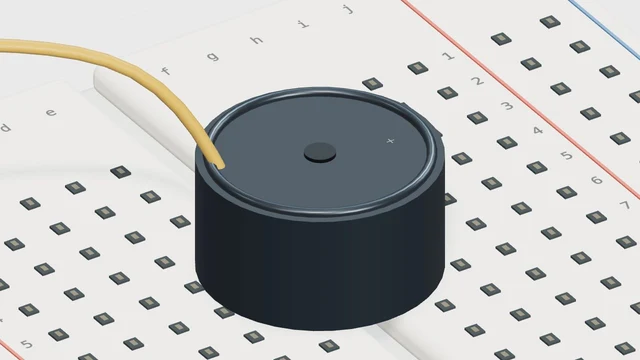
Read the world
Buzzer: Frequency, Pitch & tone()
Change a piezo buzzer frequency and compare pitches. Use tone() to connect a signal measured in hertz with the sound you hear.
Open lesson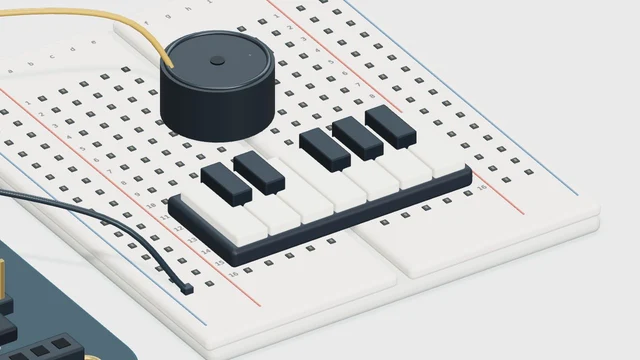
Read the world
Buzzer Piano: Keys & Note Frequencies
Play virtual piano keys and compare note frequencies. Learn the input-to-tone mapping and the limits of the single-button hardware sketch.
Open lesson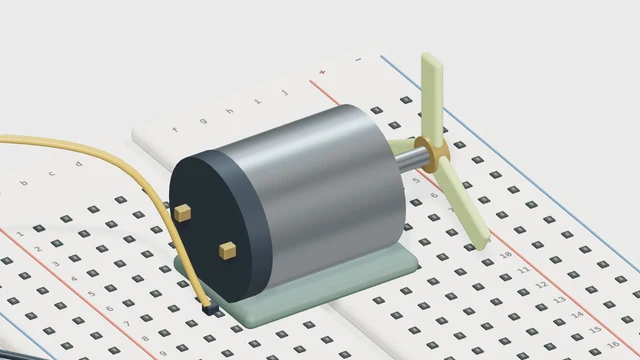
Make it move
DC Motor: PWM Speed & Driver Basics
Adjust a DC motor PWM control and watch the model respond. Understand why a motor needs a driver rather than direct power from an Uno pin.
Open lesson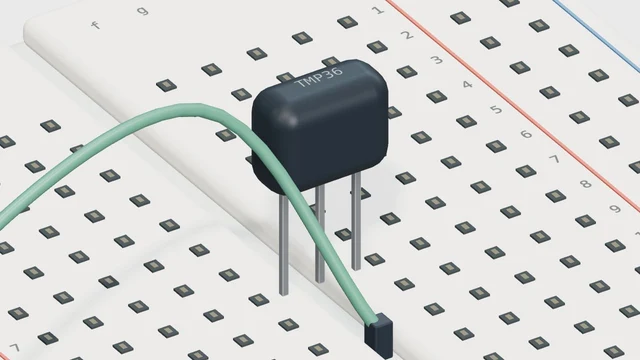
Make it move
TMP36: Sensor Voltage to Temperature
Explore a TMP36 temperature model. Compare Celsius readings with sensor voltage and calculate why 25 °C corresponds to 0.75 V.
Open lesson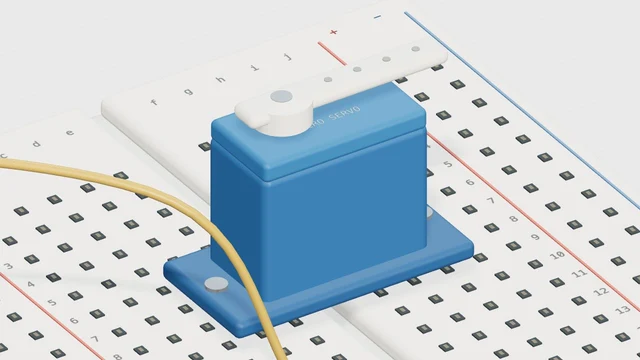
Make it move
Servo: Set Angles from 0° to 180°
Set a servo target angle and watch its position change. Compare 0°, 90° and 180°, and distinguish position control from DC motor speed.
Open lesson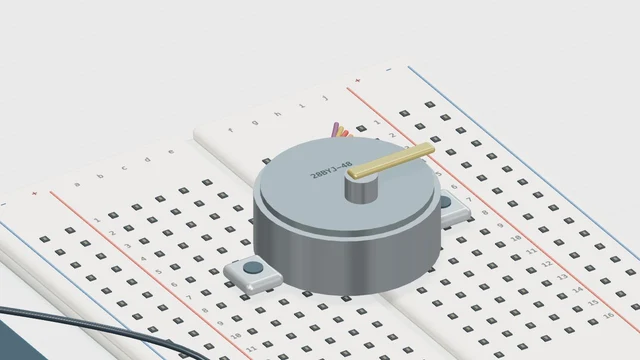
Make it move
Stepper Motor: Steps per Revolution
Compare step counts in a 2048-step-per-turn model. Calculate quarter and half turns and watch the motor advance through its sequence.
Open lesson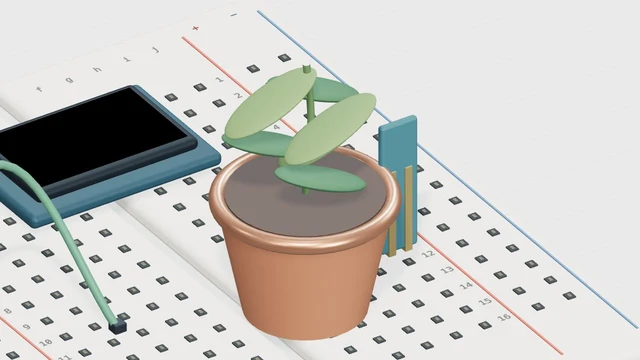
Connect the ideas
Soil Moisture: Readings & Calibration
Map a soil moisture reading to a percentage. Test the lesson’s dry and wet endpoints and learn why a real sensor needs calibration.
Open lesson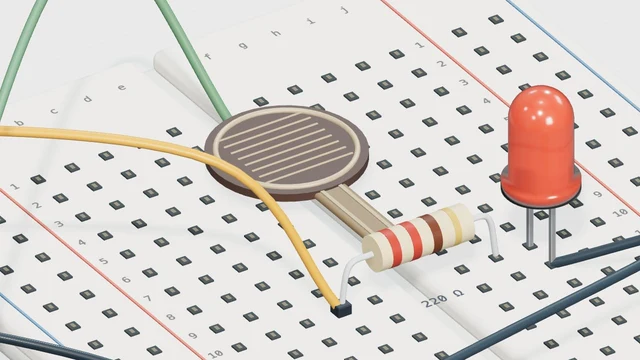
Connect the ideas
Force Sensor: Pressure to LED Brightness
Vary a force-sensing resistor input and watch LED brightness change. Trace the analog reading to PWM without treating it as calibrated force.
Open lesson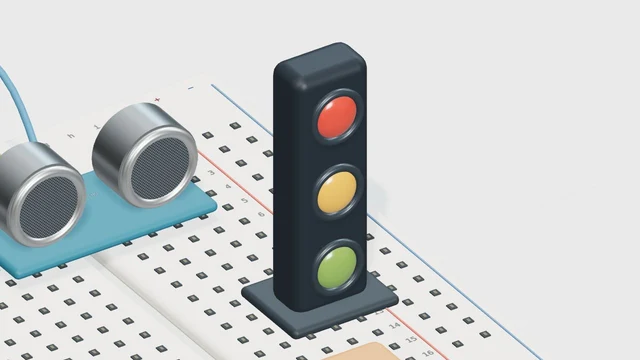
Connect the ideas
Parking Sensor: Distance & Three LEDs
Build a parking indicator with distance thresholds. Test 15 cm and 30 cm boundaries and explain when the red, amber or green light appears.
Open lessonNo lessons match your search. Try another word.
16 / 16
USING THE WORKBENCH
Check the connections. Then press Run.
In the blink lesson, find D13 and GND, run the circuit, then change the on-time from 500 ms to 1000 ms. The LED stays lit longer and the full cycle takes longer too.
Read the guide- 01
Follow the connection
Start with the pins, components and signal path.
- 02
Change one thing
Run the example and adjust a single parameter.
- 03
Explain what happened
Compare the signal with your prediction.
Looking for Learn Arduino Red?
Learn Arduino Red and Learn Arduino Red Vercel App identify the reference application. This Learn Arduino Vercel App has its own interface, models and lessons. Read how the two apps differ
A FEW HELPFUL ANSWERS
Need a hand?
What is Learn Arduino?
Learn Arduino is a free browser-based introduction to Arduino Uno. Explore a 3D board, follow 16 lessons, adjust supported circuit parameters and run the provided sketches to see the simulated results.
Do I need an Arduino board or an account?
No hardware, account or installation is needed for the browser lessons. A real Arduino Uno, USB cable and suitable components are needed only when you want to build and upload a circuit outside this app.
Is this a full Arduino IDE or a general-purpose circuit simulator?
No. This app teaches a set of guided circuits and their supported sketch parameters. Its Run button executes the lesson simulation; it does not compile arbitrary Arduino C++ or upload firmware to a connected board. Use Arduino IDE and the appropriate libraries for real hardware.
What should a complete beginner try first?
Start with the Uno board lesson, then LED Blink. Identify D13 and GND, run the sketch, and change one delay at a time. Predict the result before changing it, then compare the LED and serial monitor with your prediction.
No answers found. Try “progress”, “hardware” or “browser”.